Guide reviewed against the sources below on July 15, 2026.
How to identify a bracelet from a photo
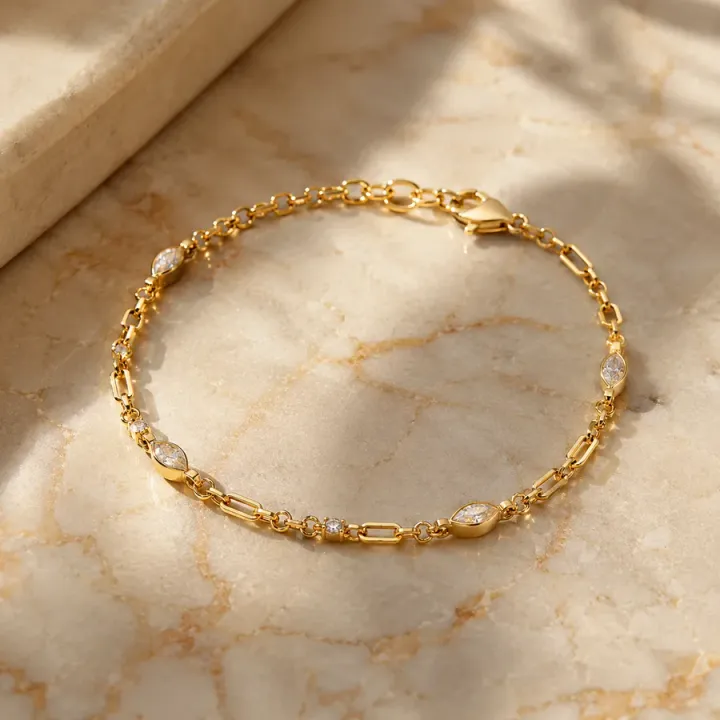
First decide whether the bracelet is rigid, hinged, linked, flexible, beaded, stone-set, or built around charms. Then inspect the clasp, hinge, safety catch, end caps, and inside surface. Those construction details can quickly separate a bangle from a cuff, a tennis bracelet from a line bracelet, or a charm bracelet from a decorative chain.
Common bracelet types
Compare the overall form first, then use the construction details to narrow the style.
- Bangle
- A rigid circular bracelet slips over the hand or opens at a hinge; it may be plain, engraved, enamelled, carved, or stone-set.
- Cuff bracelet
- A rigid or semi-rigid band has an opening at the wrist and may be narrow, wide, sculptural, hinged, or set with stones.
- Tennis or line bracelet
- A flexible line of individually set stones repeats around the wrist, often using prong, bezel, or channel settings.
- Chain or link bracelet
- Linked construction creates the body of the piece, from fine cable links to curb, Figaro, rope, box, or oversized statement links.
- Charm bracelet
- Individual charms hang from a chain or attach to modular links, with the charm mix often recording events, places, or interests.
How to examine the bracelet step by step
- Start with rigidity and movement. A rigid circle, open cuff, articulated link, hinged body, elastic strand, or flexible row of settings immediately narrows the category.
- Name the links or settings. For chains, describe the link shape and sequence. For stone-set bracelets, look for prong, bezel, channel, or cluster construction.
- Inspect the closure. Identify the clasp type and look for a safety catch, safety chain, tongue, hinge, spring, screw, or hidden box mechanism.
- Check the inside and end pieces. Marks often appear inside a bangle or cuff, on the clasp tongue, beside the hinge, on an end tag, or on the back of a stone setting.
Marks and details worth photographing
- Inside a bangle or cuff and on either side of a hinge
- Clasp tongue, box clasp, safety catch, end tag, and terminal links
- Backs of stone settings, charms, decorative panels, and end caps
- Loose stones, weak links, hinge play, clasp wear, solder repairs, and missing charms
What affects bracelet value
A useful estimate starts with the details a buyer would compare. Record these alongside the GemPeek result so you can narrow your searches and compare genuinely similar pieces.
- Metal type, weight, whether links are solid or hollow, and overall construction quality
- Stone identity, total weight, matching, setting security, and quality consistency
- Signed maker, complete charm set, recognized design, provenance, and original packaging
- Clasp and hinge security, missing stones or charms, bracelet stretch, repairs, and surface wear
Photo checklist for a stronger bracelet identification
- Photograph the bracelet open or unclasped so its full construction is visible.
- Add close-ups of the clasp, safety catch, hinge, terminal links, and all marks.
- For a stone-set bracelet, take one straight row photo and one angled setting photo.
- Place rigid bangles and cuffs on a neutral surface rather than holding them in your hand.
Continue your jewelry research
Use the jewelry value estimator guide to understand the factors behind a price range, or follow the jewelry photo checklist before your next scan.