Guide reviewed against the sources below on July 15, 2026.
How to identify a ring from a photo
Start with the ring's overall form: a plain band, signet, solitaire, halo, cluster, three-stone, eternity, or cocktail ring. Then inspect how the stones are held, the shape and colour of each stone, and any letters or numbers inside the band. A sharp top view plus a side view usually reveals far more than a single angled photo.
Common ring types
Compare the overall form first, then use the construction details to narrow the style.
- Solitaire ring
- One main stone is the focal point, commonly held by prongs, a bezel, or a raised cathedral-style setting.
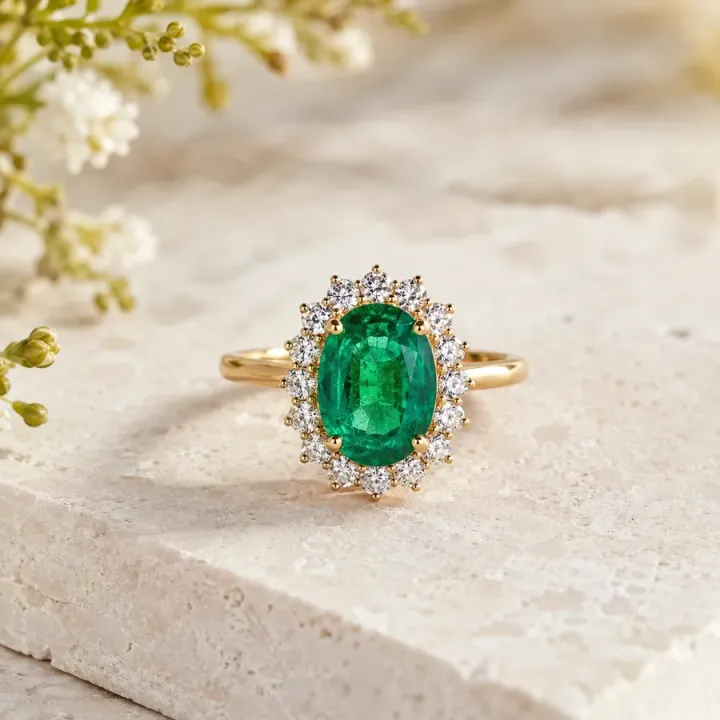
- Halo or cluster ring
- Smaller stones surround a centre stone or group tightly together, creating a larger area of sparkle.
- Signet ring
- A broad, flat or engraved face sits above a substantial band and may carry initials, a crest, or a symbol.
- Eternity or anniversary band
- Stones repeat across part or all of the band, often in prong, channel, bead, or shared-prong settings.
- Cocktail or statement ring
- A large stone, dramatic cluster, bold colour, or oversized setting is designed to command attention.
How to examine the ring step by step
- Name the ring form. Look at the number of stones, the width of the band, the profile, and whether the face is raised, flat, engraved, or built around a central setting.
- Describe the setting. Prongs look like small claws; a bezel wraps a rim of metal around a stone; a channel holds stones between parallel walls; pavé uses many closely set small stones.
- Read the stone clues. Record colour, transparency, cut shape, number of stones, symmetry, and any visible wear. These details create much better searches than colour alone.
- Inspect the shank and underside. The inside of the band may show a fineness number, maker mark, size, assay symbol, patent mark, or repair. The underside also reveals construction and previous resizing.
Marks and details worth photographing
- Numbers and letters inside the band, including fineness or karat marks
- Maker logos, initials, assay symbols, serial numbers, or model references
- Stamps beneath the head or around the gallery of the setting
- Solder lines, resizing seams, worn plating, and repair marks
What affects ring value
A useful estimate starts with the details a buyer would compare. Record these alongside the GemPeek result so you can narrow your searches and compare genuinely similar pieces.
- Stone identity, size, quality, treatment, and whether stones form a matched set
- Metal type, fineness, weight, and whether the piece is solid, filled, or plated
- Recognized maker, design period, provenance, original paperwork, and current demand
- Condition of the shank, prongs, settings, stones, engraving, and previous repairs
Photo checklist for a stronger ring identification
- Take one straight-down photo that clearly shows the complete face of the ring.
- Add a side profile so the setting height, gallery, shoulders, and stone depth are visible.
- Photograph the entire inside of the band, then move closer for each readable mark.
- Use soft daylight and a plain background; wipe fingerprints from polished metal first.
Continue your jewelry research
Use the jewelry value estimator guide to understand the factors behind a price range, or follow the jewelry photo checklist before your next scan.