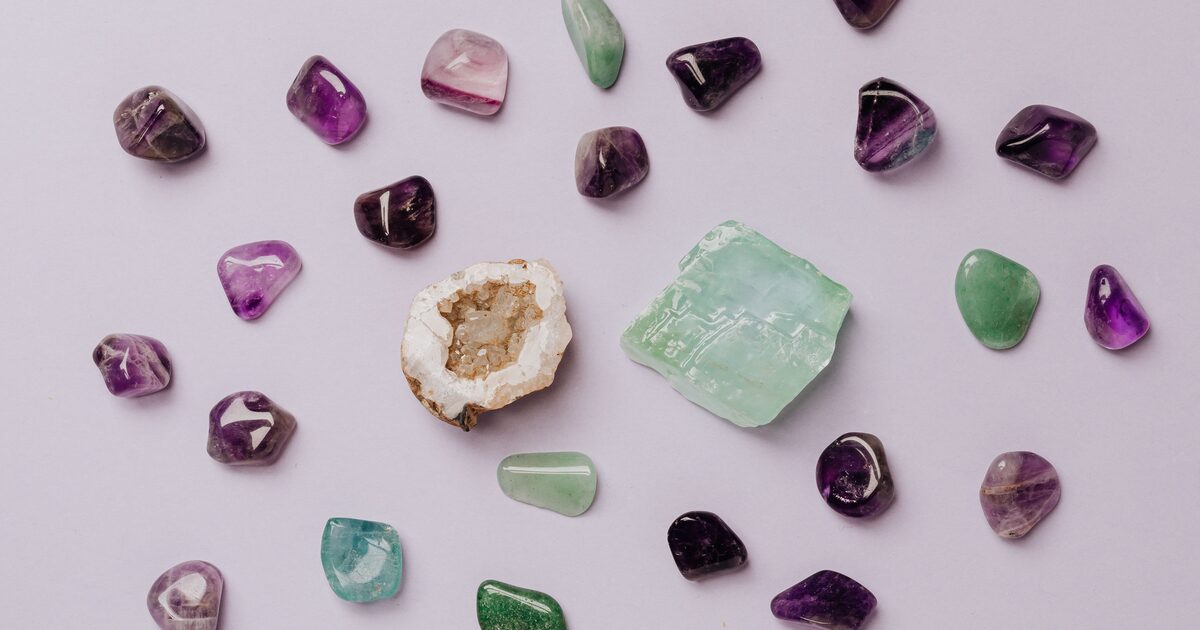
A stone turns up in an inherited ring, a thrifted brooch, or a loose parcel in an estate lot, and the first question is always the same: what is it? Learning how to identify a gemstone starts with the traits your own eyes can read, color, cut, luster, and clarity, and ends at a firm limit, because the properties that actually pin down a species need instruments no phone can replace.
To identify a gemstone, observe its color, transparency, cut, and surface luster to narrow the field, then note any visible inclusions. These clues suggest a likely type. Confirming the species requires measuring hardness and refractive index with proper tools, and neither those tests nor a photo can prove a stone’s geographic origin, treatment history, or value.
Below is a repeatable way to work through a stone, the tests that separate look-alikes, and an honest list of what home observation can and cannot settle.
Start with the four things you can actually see
Before any tool comes out, four visible traits do most of the narrowing.
Color and its behavior. Note the hue, how saturated it is, and whether it shifts under different light. Some stones change color noticeably between daylight and indoor lighting, a strong clue toward specific species. Color alone rarely identifies a stone, since many minerals share a hue, but combined with the traits below it thins the list fast.
Transparency. Is the stone see-through (transparent), cloudy (translucent), or solid (opaque)? Turquoise and opal are opaque or translucent; most faceted ring stones are transparent. This one trait rules out whole categories.
Cut and shape. Faceted stones, cabochons (domed and polished), and carved pieces each hint at what the material can take. Hard, transparent stones are usually faceted to throw light. Softer or opaque materials are usually cut as smooth cabochons because facets would not hold or would not sparkle.
Luster. Luster is the quality of the shine on the polished surface. Diamond has an adamantine, almost metallic brightness; many stones show a glassy (vitreous) shine; others look waxy, greasy, or pearly. The GIA Gem Encyclopedia describes the characteristic luster for individual species, and matching what you see to those descriptions is one of the more reliable visual clues.
Read the inclusions under magnification
Under a 10x loupe, many stones reveal internal features that point toward a species or toward a natural versus manufactured origin. Natural gems often carry tiny crystals, needles, feathers, or growth lines. Manufactured glass frequently shows round gas bubbles and swirl marks, which almost never appear in natural crystalline stones. Silk-like needles, healed fractures, or angular mineral crystals are the kind of internal signatures a gemologist reads to separate look-alikes that appear identical to the naked eye.
The tests that actually name a species need tools
This is where honest identification parts ways with guesswork. Two measurable properties do the heavy lifting, and neither can be judged by eye.
Hardness (the Mohs scale). Every mineral resists scratching to a characteristic degree, rated 1 to 10. Diamond sits at 10, the top of the Mohs scale, while softer gems like turquoise fall much lower, roughly 5 to 6. A gemologist may test hardness with graded picks, but this is a destructive test that can leave a permanent scratch, so it is a last resort on a finished, set stone, not a casual home check.
Refractive index. Every gem bends light by a specific, measurable amount, and a refractometer reads that number in seconds. Refractive index is one of the single most diagnostic properties in gemology because it is precise and repeatable. It requires a dedicated instrument and a flat polished facet to read against, which is exactly why species confirmation happens on a gemologist’s bench and not from a snapshot.
Specific gravity (density), a spectroscope, and other bench tools round out the professional toolkit. The International Gem Society catalogs the diagnostic values for each species; the takeaway for an owner at home is that these numbers, not appearance, are what turn a good guess into an identification.
What a photo can and cannot do
A clear, well-lit photo is genuinely useful, and it is also strictly limited. Being honest about both halves keeps you from overpaying for an appraisal on the wrong assumption, or underselling a real find.
A photo can suggest a likely gemstone type by capturing color, transparency, cut, luster, and obvious inclusions. It can flag a stone worth a professional look, and it can rule some materials in or out.
A photo cannot:
- Prove the species. Two stones that photograph identically can differ in hardness and refractive index, the properties that actually define them.
- Prove geographic origin. Where a stone was mined is determined in a lab from trace elements and inclusion patterns, never from an image.
- Detect treatment. Heating, dyeing, fracture filling, and irradiation are common and often invisible in a photo, yet they change value substantially.
- Settle value. Even a correctly named stone’s worth swings with quality grading, treatment status, and which market you are selling into.
Treat any visual read, including one from an app, as a first hypothesis to confirm, not a verdict.
When a lab report is worth paying for
Not every stone needs a laboratory. A modest, clearly costume piece rarely justifies the fee. A lab report starts to earn its cost when the stone is large or fine enough that species, treatment, and origin move the price meaningfully, when you plan to insure or sell it, or when a home read leaves genuine doubt between two valuable possibilities. For colored stones especially, a report that documents treatment status can matter as much to value as the identification itself. Our guide to what makes jewelry worth more walks through the levers, and if the stone is set in a ring, the ring identification guide covers reading the setting and marks that accompany it.
If your stone is a colorless one you suspect might be diamond, the look-alike tests are specific enough to deserve their own walkthrough, covered in how to tell if a diamond is real.
How to identify a gemstone, step by step
A sensible home sequence: note color and any color shift, judge transparency, read the luster against reference descriptions, loupe for inclusions or gas bubbles, and record the cut style. Photograph each of these clearly, because sharp images of the stone from several angles are what let anyone, human or app, give you a useful read. Our guide to photographing jewelry for identification shows the lighting and angles that make color and inclusions legible.
Once you have good photos, scan the piece with GemPeek for a fast first pass: the app returns a likely stone type, the setting and materials it can see, condition notes, and an estimated value range. That is an informed starting point, not a lab result, and a photo cannot confirm species, origin, or treatment, so for any stone where real money is involved, have a gemologist or certified appraiser confirm it before you sell or insure.