
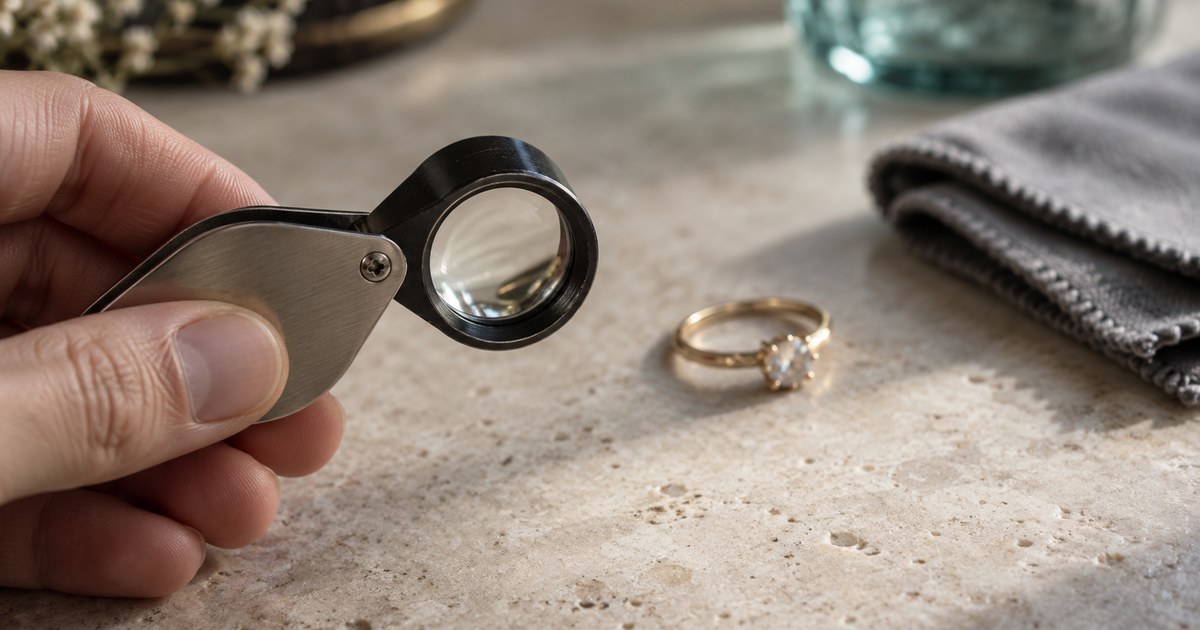
A phone camera will get you a long way with jewelry, and then it stops. It cannot resolve a worn hallmark, it struggles to show whether a facet edge is crisp or rounded, and it flattens the tiny internal features that separate a natural stone from a manufactured one. That is where the next tool up earns its place, and knowing how to use a jewelers loupe properly takes about five minutes to learn.
Hold the loupe up to your eye, almost touching your eyebrow, keep both eyes open, and bring the jewelry up to the loupe until it snaps into focus. Use a 10x triplet lens, the magnification diamond clarity grading is defined at, and light the piece from the side rather than from behind your head.
Below: the equipment worth buying, the technique that makes it work, and an honest account of what it does and does not settle.
Why 10x, and not more
Ten times magnification is the industry standard, and it is not arbitrary. GIA’s clarity system considers the size, nature, position, color or relief, and quantity of clarity characteristics visible under 10x magnification. Grading, disclosure, and the language everyone in the trade uses are all anchored to that number, so a 10x view is the view your jeweler is describing when they talk about what a stone shows.
Higher magnifications sound better and are worse in the hand. As power goes up, the field of view narrows, the depth of focus shrinks to almost nothing, and the amount of light reaching your eye drops, so a 30x loupe gives you a dim, twitchy view of a fragment of the stone that is nearly impossible to hold steady. Buy 10x, and buy it once.
Two more specifications matter:
- Get a triplet. A triplet loupe uses three lens elements cemented together to correct the two errors single-lens loupes suffer from: colored fringing around edges, and blurring toward the rim of the field. A cheap single lens is sharp only in the middle and adds color casts exactly where you are trying to judge color.
- Look for a wide aperture. A larger lens opening lets in more light and makes the whole exercise less frustrating, particularly for reading marks inside a ring shank.
A decent 10x triplet is an inexpensive tool and it lasts forever, so buy the good one.
The technique
Almost everyone gets this backwards on the first try by holding the loupe over the object like a magnifying glass. Do it this way instead:
- Bring the loupe to your eye. Hold it between thumb and forefinger and rest the back of that hand against your cheek or brow so the lens sits close to your eye socket. Contact with your face is what stabilizes it.
- Keep both eyes open. Squinting one shut tires you out and introduces shake. Your brain will ignore the unmagnified eye after a few seconds.
- Bring the object to the lens, held in your other hand, and move it slowly toward the loupe until it snaps into focus. The working distance is much shorter than people expect, close enough that beginners routinely stop too far away and conclude the loupe is faulty.
- Brace hand against hand. Touch the fingers holding the jewelry against the fingers holding the loupe. Now both are locked together and small movements no longer separate them.
- Light from the side. Put a lamp or window light at an angle to the piece rather than behind you. Raking light across a surface is what makes an engraved mark, a scratch, or a rounded facet edge visible; flat frontal light washes all of it out.
- Move the object, not the loupe. Once focus is set, tilt and rotate the piece to sweep across it. Trying to walk the loupe over a stationary object loses focus constantly.
If you wear glasses, keep them on and hold the loupe against the lens. If you can, sit down and rest your elbows on a table, which removes the last of the shake.
What the loupe reveals that a photo cannot
Under 10x, a piece of jewelry stops being an object and becomes evidence. Six things become readable:
- Marks. Karat stamps, 925, maker’s trademarks, assay marks, and the letters after a karat number that turn solid gold into a plating claim. The FTC’s consumer guidance points buyers to look near the karat quality mark for the trademark of the company standing behind it, and on a worn ring shank that is often only findable under magnification.
- Facet edges. Crisp junctions are consistent with a hard, well-cut stone. Rounded, softened edges mean a softer material, an old imitation, or years of abrasion. This single observation catches a lot of glass and a lot of tired cubic zirconia.
- Inclusions. Bubbles, swirl lines, needles, feathers, and crystals. These are the fingerprints of how a stone formed or was manufactured, and the International Gem Society treats them as a primary identification tool for good reason.
- Setting quality. Whether prongs are cleanly formed and gripping the stone, whether a repair has been soldered in, whether the gallery under a stone is finished or crude. Craft quality is a real value signal.
- Wear and damage. Chips at the girdle, abraded plating at contact points, thinning ring shanks, worn clasp mechanisms, hairline cracks. All of these change what a piece is worth and what it will cost to make wearable.
- Doubling. In some stones the back facet edges appear doubled through the crown, a direct observation of the material’s optics rather than an impression of it.
Those are exactly the observations that let you go past a photograph. The photograph is still the right first step for the same reason it always was: it is fast, it records what you saw, and it can be zoomed and shared. The two tools pair naturally, which is why photographing jewelry for identification and a loupe belong in the same drawer.
A working inspection routine
Run the same sweep on every piece so nothing gets skipped:
- Marks first. Inside the ring shank, the clasp tab, the earring post, the back of a brooch. Rotate the piece slowly under raking light.
- Then the stone from the top. Look through the table for inclusions, bubbles, and doubling of the back facets.
- Then the stone from the side. Check the girdle for chips and for a laser inscription, and see how the stone sits in its setting.
- Then the metal. Look at wear points for a second color of metal showing through, and at solder joints for repairs.
- Then the workmanship. Prongs, gallery, hinge, catch, and clasp. Good work under 10x looks deliberate; poor work looks approximate.
That order matters because the cheapest information comes first. A plating mark on the clasp saves you ten minutes of studying a stone.
What a loupe honestly cannot do
A loupe magnifies. It does not measure, and the properties that identify a gemstone are mostly measurements: refractive index, specific gravity, spectral absorption, and the growth structures that separate natural from lab-grown material. So a loupe can tell you that a stone has bubbles and is therefore probably glass, and it cannot tell you that a clean, well-cut stone is a natural sapphire rather than a synthetic one. That boundary is the same one described in how to identify a gemstone.
It also cannot confirm metal purity. A stamp is a claim about what a piece is, and a claim read at 10x is still a claim.
Where a loupe genuinely changes the outcome is triage. It tells you which two pieces in a box deserve a professional opinion and which twenty do not, which is the same job the first stage of how to appraise jewelry is doing, and it makes home checks on look-alike stones far more decisive, as in how to tell if a diamond is real.
Use the loupe to find the marks and the tells, then scan the piece with GemPeek for a structured first read on the likely type, materials, condition, and an estimated value range, and take the shortlist to a jeweler.