
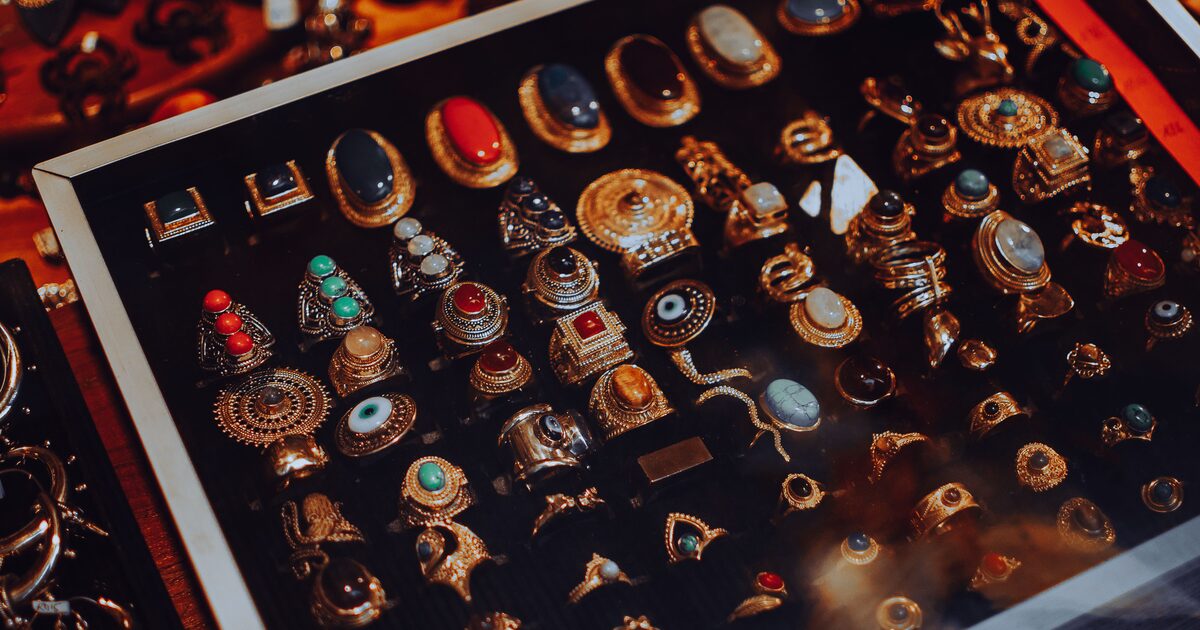
Open an old jewelry box and most pieces arrive with no paperwork, no receipt, and no story. Learning how to identify vintage jewelry is really about reading the piece itself: the way it fastens, the marks struck into the metal, and the design language of the decade it came from. None of it requires a lab, and most of it you can do at a kitchen table with a loupe and good light.
To identify vintage jewelry, work three clues in order: the clasp or findings, which changed style over the decades; the hallmarks and maker’s marks stamped on the metal; and the overall design period. C-clasps and trombone clasps point to older pieces, while lobster claws became common only in the later twentieth century.
Before going further, a quick vocabulary note. In the trade, “vintage” usually means roughly 20 to 100 years old, while “antique” is reserved for pieces about a century old or more. Neither word is a grade of quality, and neither one alone tells you value. What follows is how to place a piece in time, not how to price it.
What can a clasp tell you about age?
The findings, meaning the working parts like clasps, pin stems, and earring backs, are the single most useful dating clue because their styles shifted in a rough sequence. Treat these as approximate era pointers, not exact birthdays, because older styles lingered and reproductions exist.
- C-clasp. On a brooch, a simple open C-shaped hook with no locking mechanism, often paired with a long pin stem that extends past the body, points to an earlier piece, commonly Victorian into the early twentieth century.
- Trombone (tube) clasp. A cylindrical tube with a pull that slides out to release the pin, more common on earlier and mid-century European brooches.
- Spring ring. A small round clasp with a spring-loaded gate opened by a tiny lever. It came into wide use on chains in the earlier twentieth century and is still made today, so it dates a floor, not a ceiling.
- Box clasp. A tab that clicks into a decorated box, common on older bracelets and necklaces, often with a safety catch or figure-eight guard.
- Lobster claw. The spring-loaded claw clasp most chains use now became common only in the later twentieth century, so its presence usually argues against a genuinely old piece unless the clasp was clearly replaced.
Earring findings tell a similar story. Screw-back and clip-on fittings were the norm for non-pierced ears through much of the early and mid twentieth century, while modern friction-post studs for pierced ears point to later manufacture or a later conversion. A converted piece, old front with a newer back soldered on, is common and worth noting rather than treating as a fake.
Which construction details signal older work?
How a piece is put together often separates genuinely old work from later reproduction. Older pieces were frequently hand-fabricated, so look for slightly uneven solder seams, hand-cut gallery work, and closed-back settings where the stone sits over metal rather than an open cutout. Riveted or hinged joints, hand-engraved detail, and old-style stone cuts such as rose cuts or old mine cuts also lean older, since those cutting styles predate modern faceting machinery and rarely appear in new work.
Machine precision, perfectly uniform casting texture, laser-straight prongs, and modern calibrated stone cuts lean newer. None of these is proof on its own. Read them together with the findings and marks.
How do hallmarks and maker’s marks date a piece?
Marks are where identification gets specific. Look inside a ring shank, on a clasp or the tag beside it, on the pin catch of a brooch, and along the edge of a pendant. You are hunting for three kinds of stamp:
- Fineness marks state the metal standard: 925 for sterling silver, or 375, 585, 750, and 916 for 9, 14, 18, and 22 karat gold. Under the FTC Jewelry Guides, a US seller should only apply these when the metal actually meets the standard, so a fineness mark is a claim to verify, not a guarantee on its own.
- Maker’s marks are initials, a symbol, or a logo. The maker often matters more to value than the metal, so photograph these carefully.
- Assay and date marks. In countries with official assay systems, such as the United Kingdom, hallmarking has long been a legal requirement and the marks can pin down the assay office and, with a specialist reference, the year. The Assay Office maintains those standards.
A word of caution: not every mark is honest, and not every old piece is marked at all. Much American costume and some fine jewelry carries only a maker’s name or nothing. Absence of a mark is not proof of age or fakery, and a present mark still needs to agree with the metal and construction you see.
Which design period does the style point to?
Once the mechanical clues have placed a piece roughly in time, the design vocabulary confirms it. These period ranges are widely used and approximate; styles overlapped and revived.
- Victorian (roughly 1837 to 1901): naturalistic motifs, lockets, mourning jewelry in jet and black enamel, seed pearls, and heavy gold work in the later years.
- Art Nouveau (roughly 1890 to 1910): flowing organic lines, insects, and the female form, often in enamel.
- Edwardian (roughly 1901 to 1915): delicate white-on-white platinum and diamond lace-like designs, filigree, and bows.
- Art Deco (roughly the 1920s and 1930s): bold geometry, symmetry, contrasting color, and calibrated stones.
- Retro (the 1940s): large, sculptural rose and yellow gold, big cocktail rings, ribbon and scroll motifs.
- Mid-century (the 1950s and 1960s): textured gold, spray and starburst brooches, and a return to yellow metal.
Matching motif, metal color, and stone cut to one of these periods, then checking that the clasp and marks agree, is how a piece earns a confident date rather than a guess.
A repeatable inspection order
- Examine the findings first: clasp type, pin stem, earring backs. Note where they land in the rough sequence above.
- Read the construction: hand-fabricated and closed-back versus machine-precise and open.
- Find every mark, then confirm the fineness stamp agrees with a magnet and wear test on the metal.
- Place the design in a period, and check it does not contradict the earlier clues.
- Photograph the marks and findings up close. Sharp, well-lit images are what let anyone read a piece; our guide to photographing jewelry for identification shows the angles that make tiny stamps legible.
Only once a piece is placed in time does the value conversation make sense. Age, maker, materials, and condition all pull in different directions, and our breakdown of what makes jewelry worth more covers which of those levers actually moves the number. If the box came to you through family, what to do with inherited jewelry walks through the steps before anything is sold, and the guide to what your jewelry is worth explains the gap between resale, retail, and insurance figures.
If you want a fast starting read on a mystery piece, scan it with GemPeek. The app looks at the type, style period, visible marks, materials, and condition and returns a likely identification with an estimated value range. Treat that as an informed first answer to confirm with a specialist appraiser before you insure or sell anything where the number matters.